

It’s my second week of writing about woodworking. So naturally, I did not spend a single moment of the past week woodworking.
Instead, I focused on a project in an entirely different medium: Sewing a bench cushion. But as to not totally go off the rails, I’m going to write about the bench the cushion is for, even though I technically did not work on it this week.
entryway bench
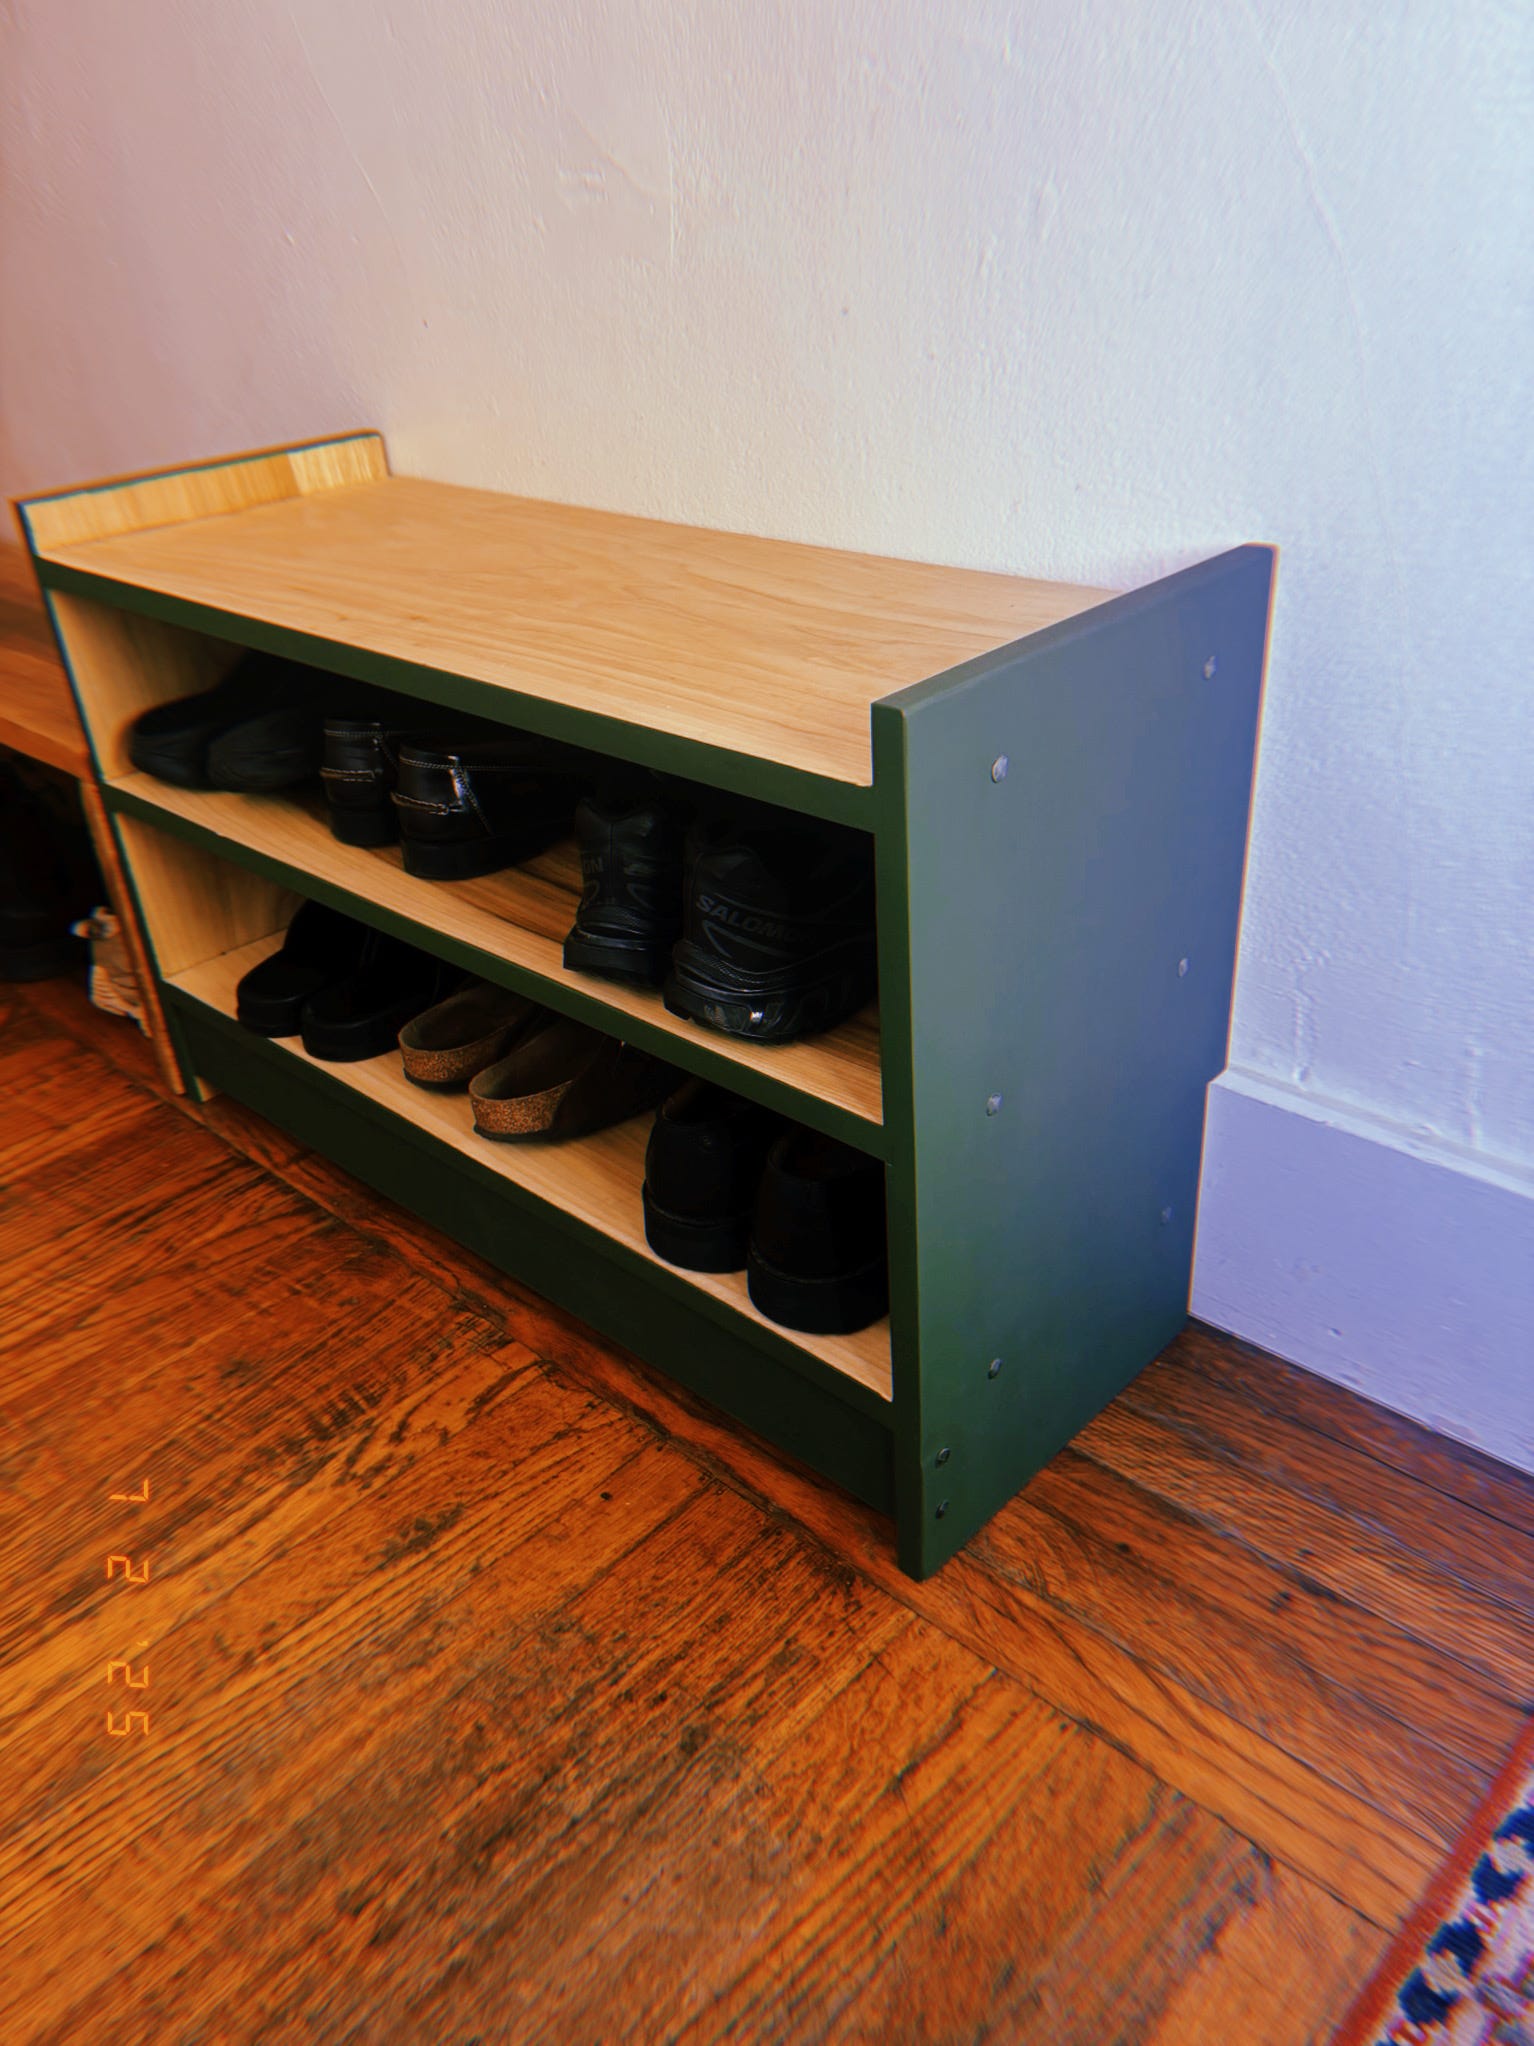
The bench is approximately 31” across, 12” deep, and 18” high. It is made of poplar painted with milk paint and one coat of oil. I made it a couple of weeks ago. It is the first of what will become a series of shelving units to line a long entryway. Subsequent units will be just shelving, this one is lower and has a bench seat to sit and take shoes on/off.
work notes
This is the second shelf I’ve made in this fashion. The first one I made out of pine for my shop. It’s a straightforward design — not super fun to build, but sturdy and simple, especially with cut nails reinforcing the dados.
senior project superlatives
most tiring


Preparing the wood, specifically ripping the boards to exactly the right width using my hand saw, was slow-going. This is the kind of thing I can imagine doing with a machine in the future, once I work up the courage to use a table saw or accept my fate as a scaredy cat and buy a track saw. Cutting to length was easier, but tuning squareness on the wide pieces was still a slog.
most satisfying
Using a router plane to clean up the bottom of the dados was incredibly fun.
I did each dado as follows:
Mark the bottom line — annoyingly hard without a big square.
Mark out the depths with a marking gauge.
Clamp a (straight!) scrap across the work to use as a fence for sawing the shoulders straight up and down.
Saw down to depth. I used an azebiki saw (a Japanese saw with a short, curved blade that means you can start a cut from anywhere on a piece — not just the edge or end). I marked the depth of the dado in sharpie on the saw to tell me when I hit the right depth.
Put the actual shelf piece that will go into the dado just on the cut line (for perfect actual width versus marking the theoretical thickness of the board), mark it on either end, then use a straight edge to link up the marks. I didn’t trace the whole thing because my boards were a tiny bit cupped. I oriented the cupped face up for each shelf.
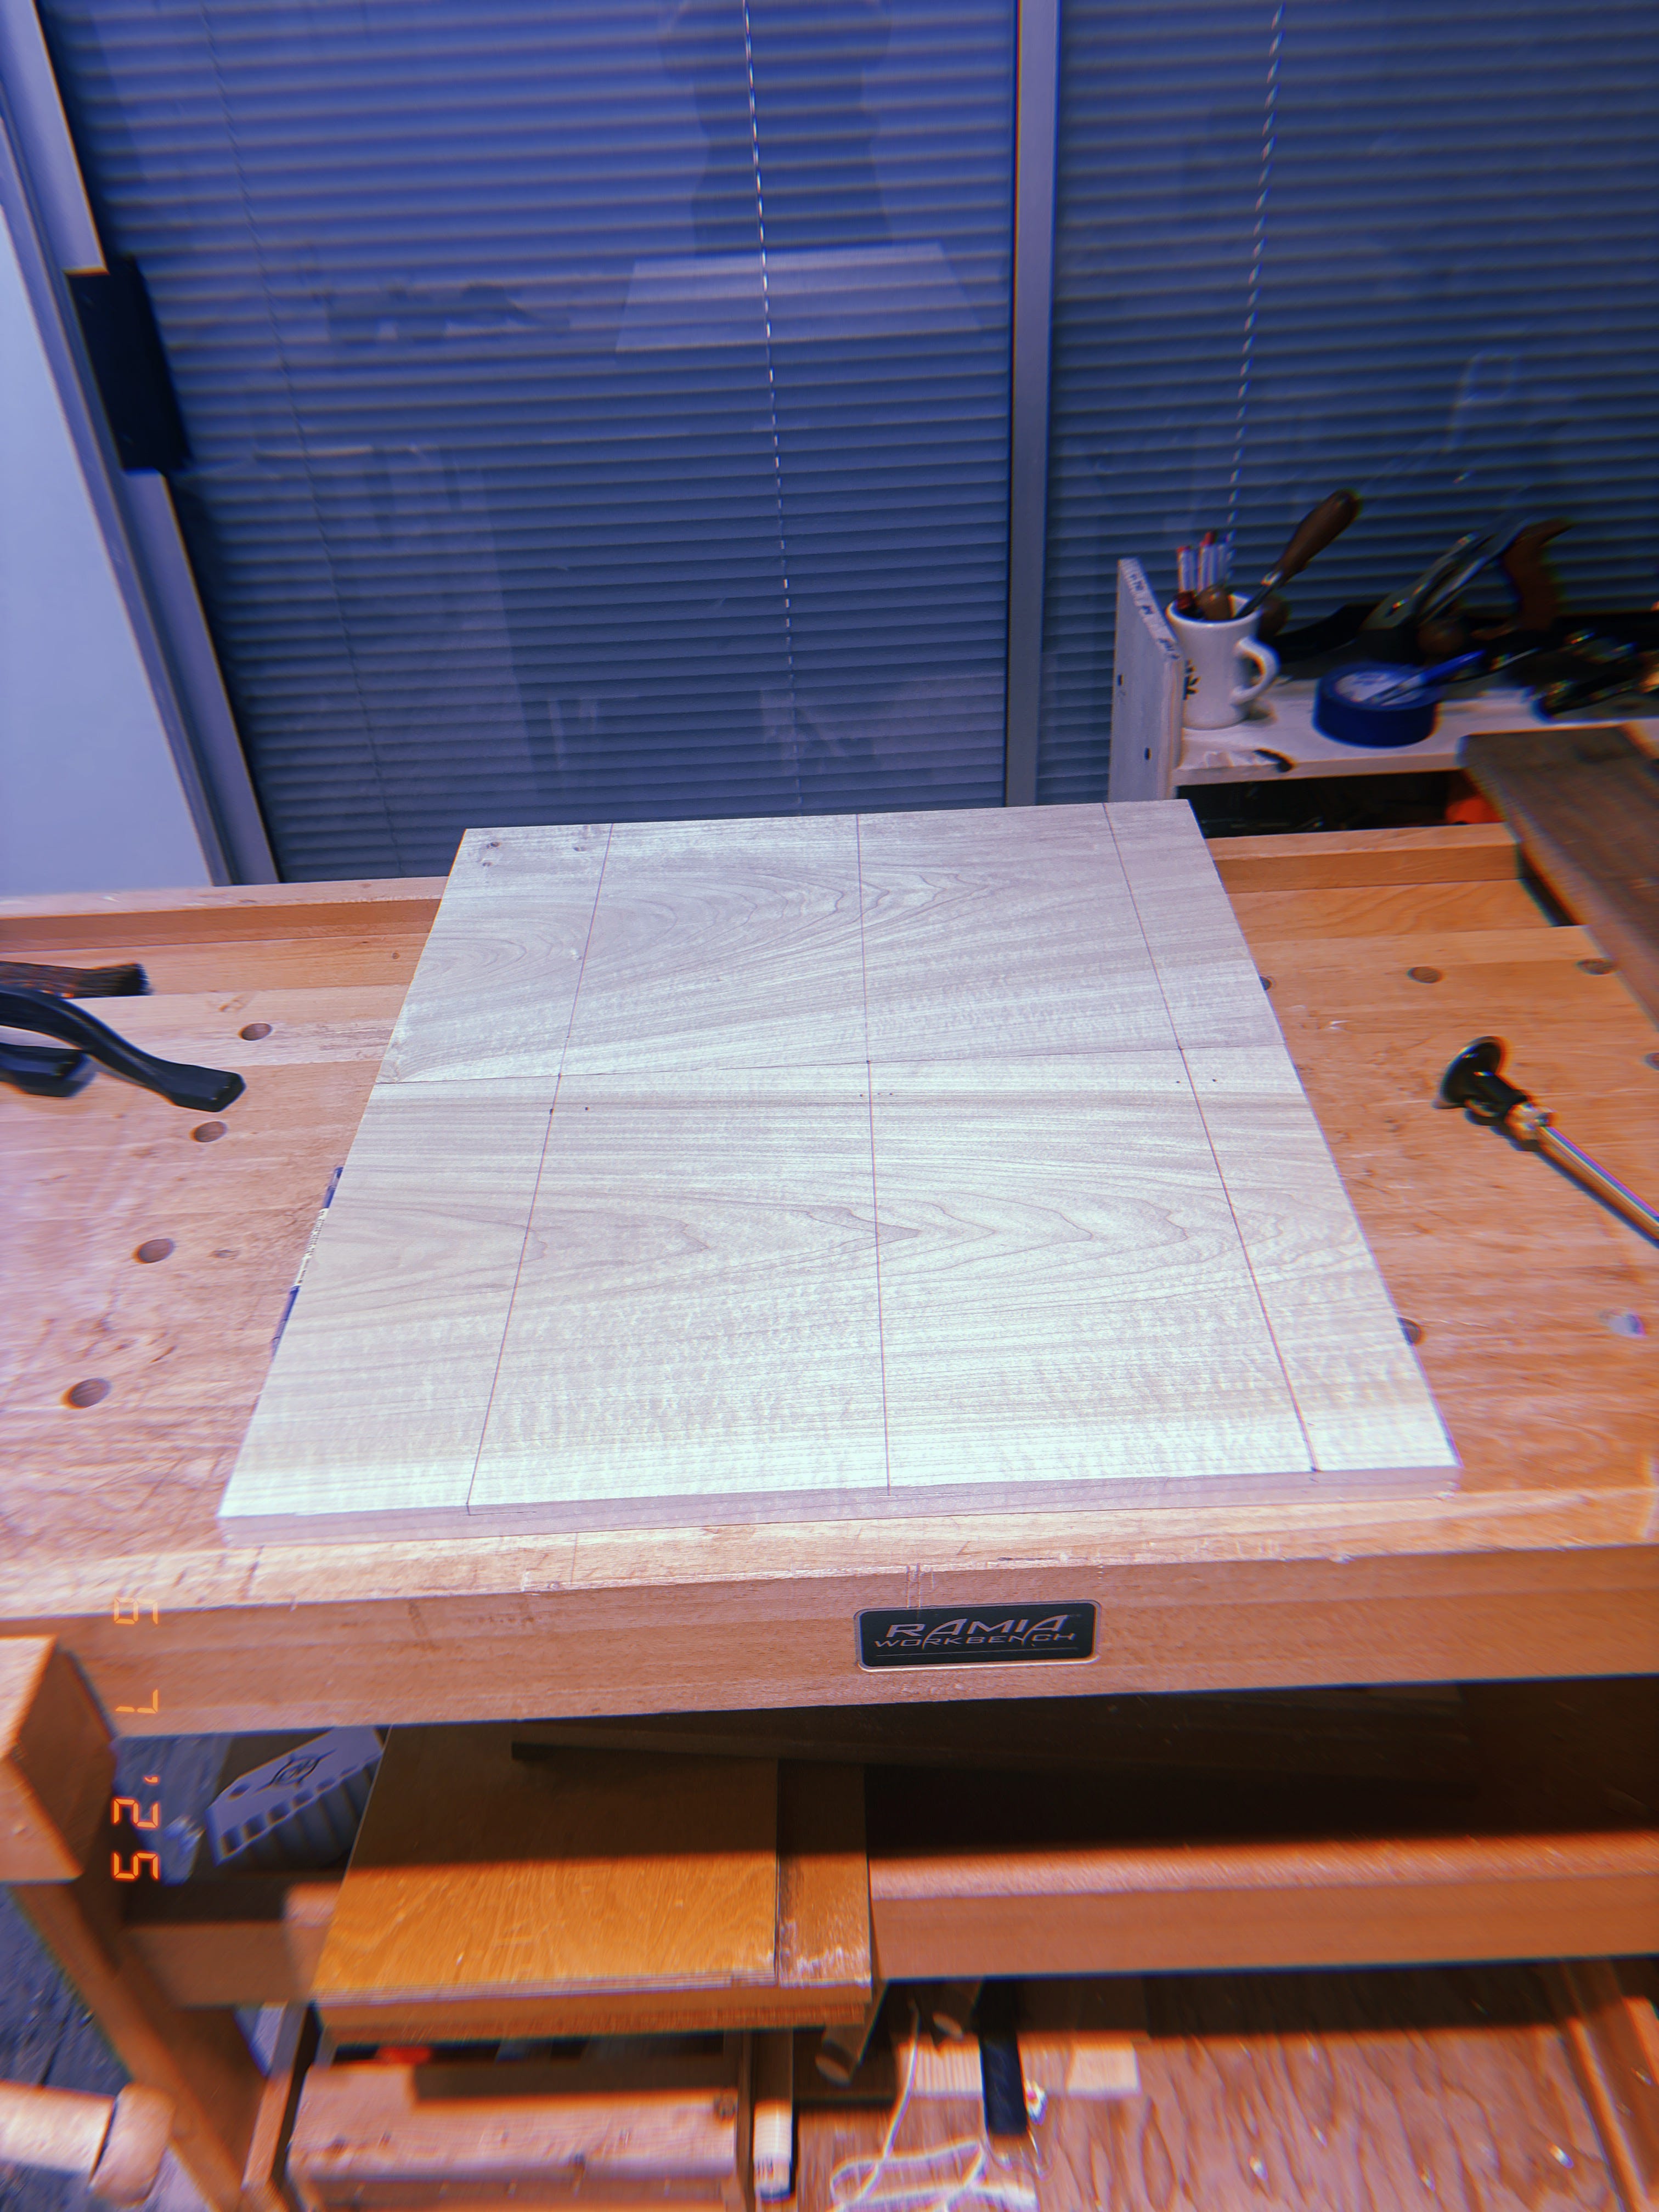
Line the straight piece fence up on the line, clamp it, saw down to depth.
Bash out waste between the two lines with a chisel. This part is fun— the chips just fly right out from between the two sides.
Once I get close-ish to the right depth with the chisel, bring in the router plane (set to exactly the right depth) and do final clean up. So smooth, so satisfying. A few times I tried to take out too much material at once and the plane skipped out of the dado and marred the board — lesson learned.
Most satisfying (honorable mention)
Hammering in the nails that reinforce the dados. Not much more to say. Hammering a nail is a classic for a reason.
Most challenging
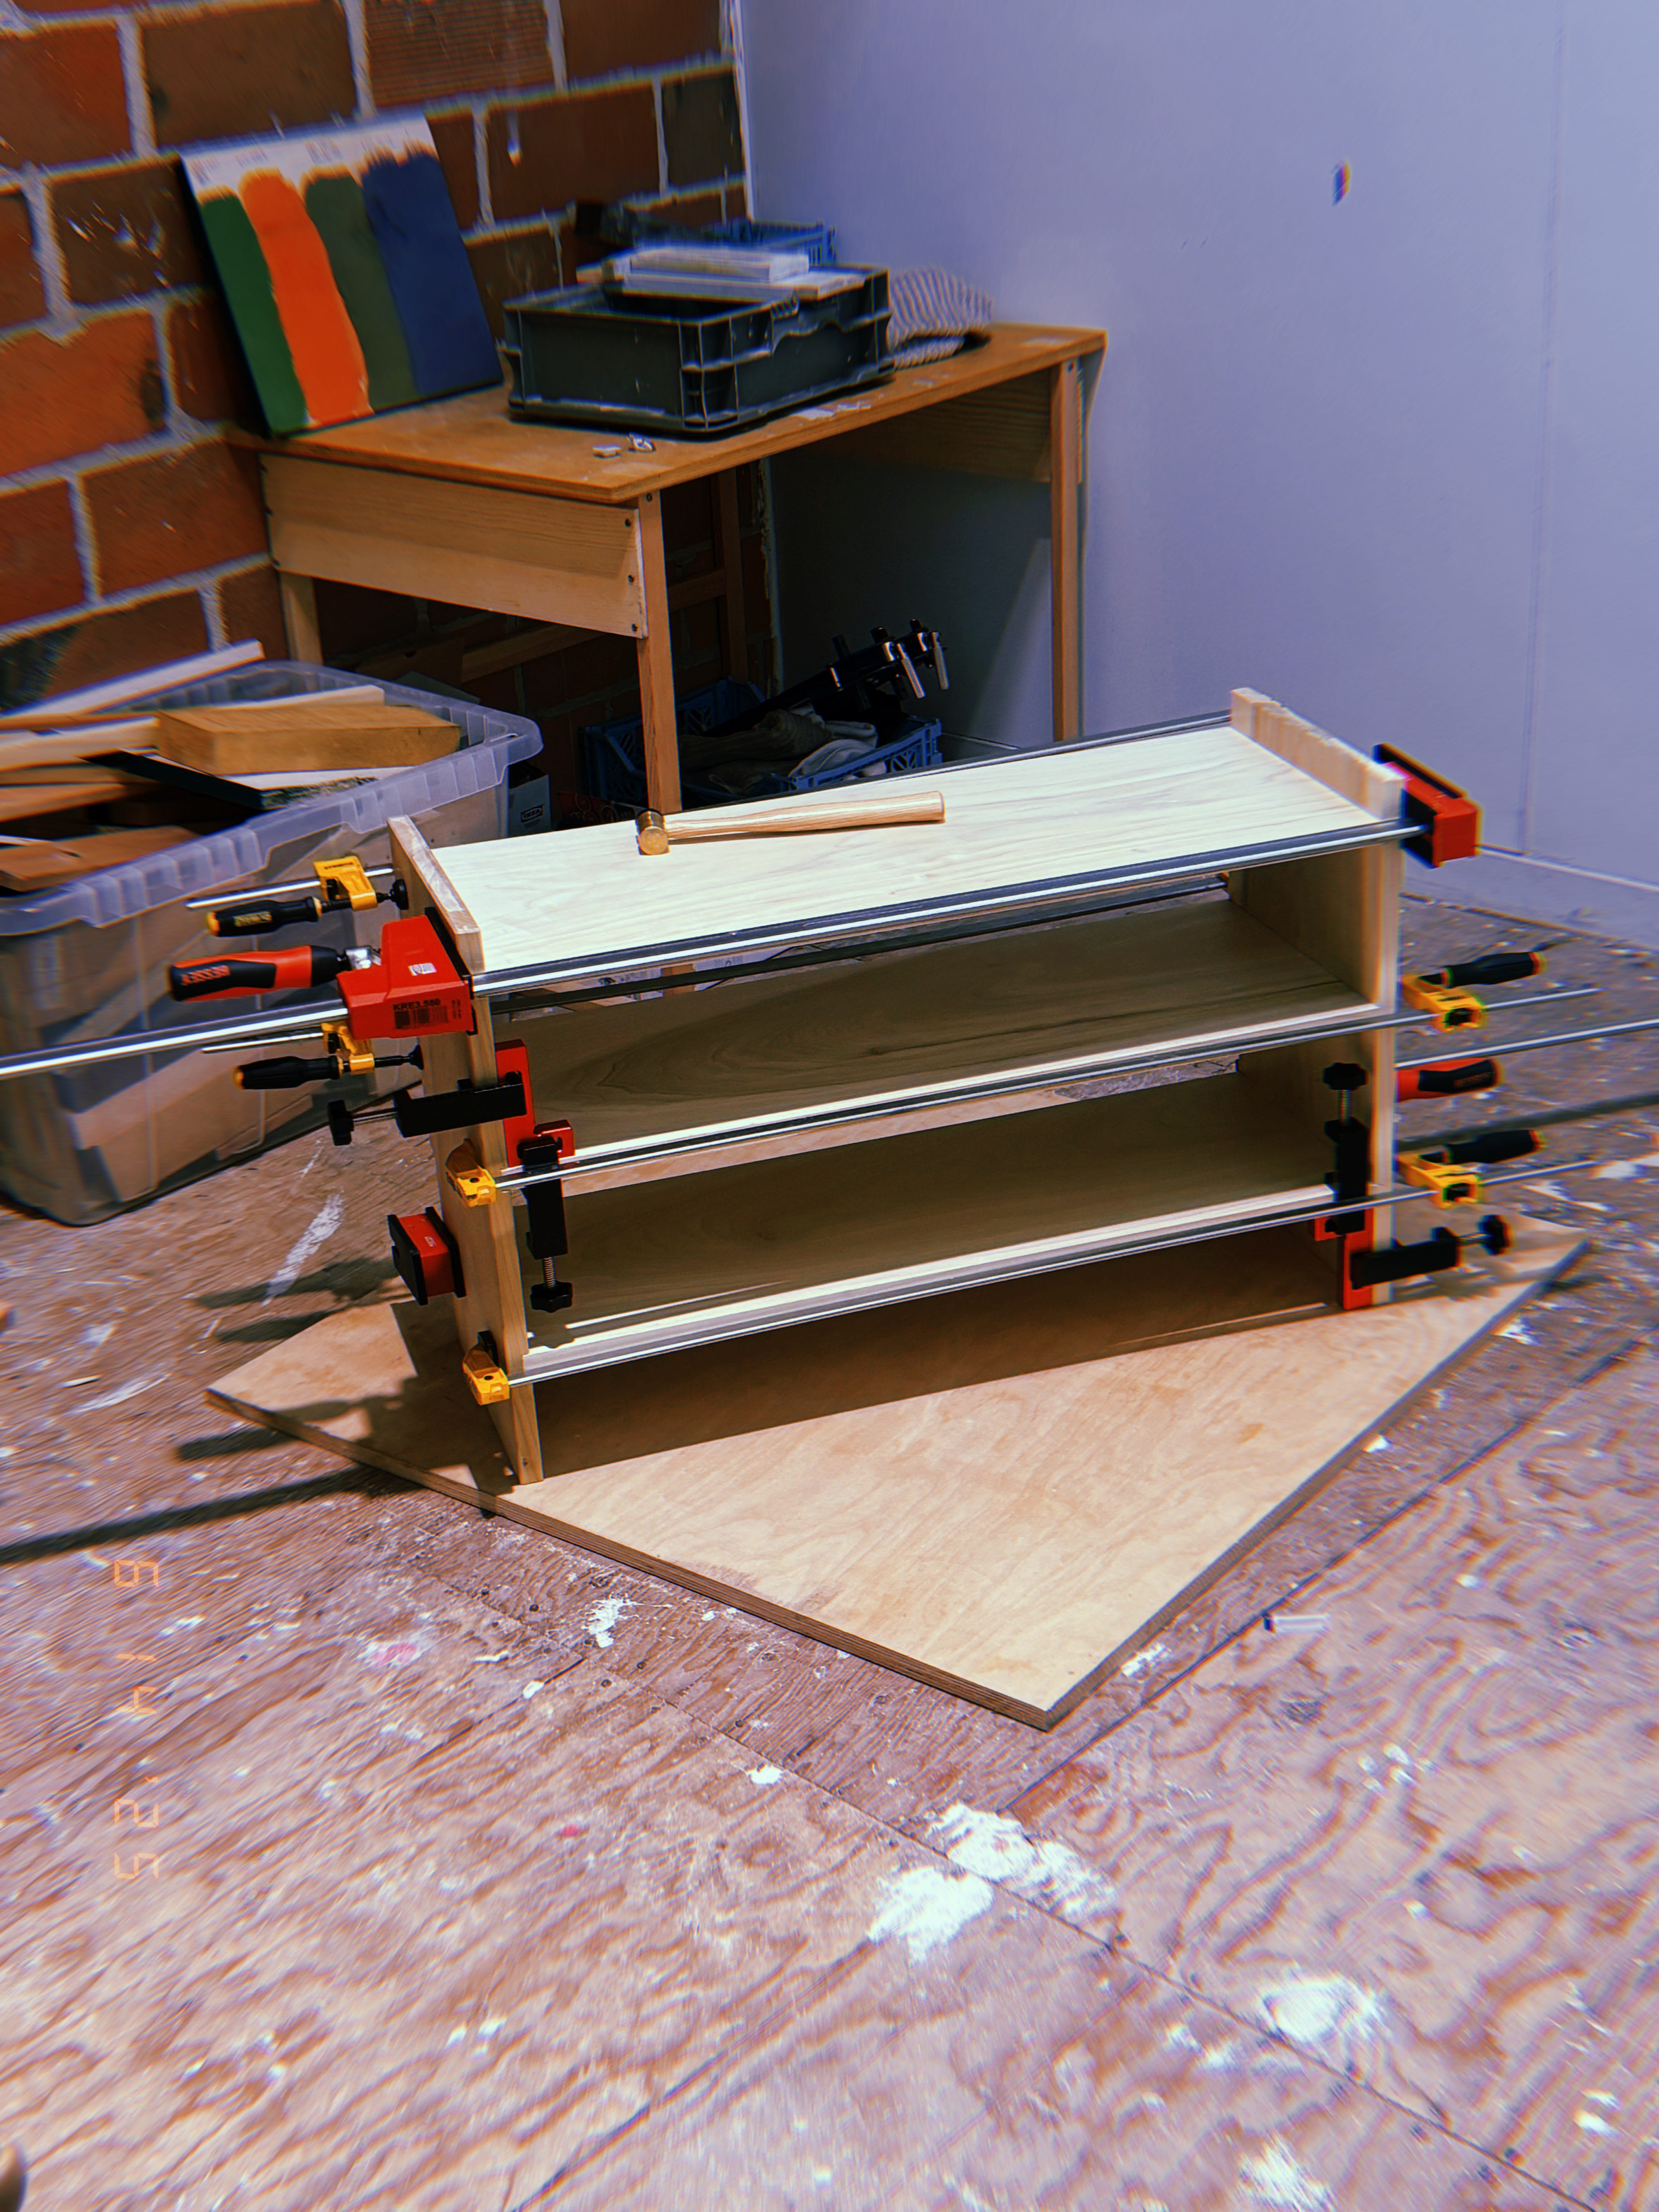
Perfectly aligning the shelves and sides during gluing and clamping. The dados make “up and down” alignment a breeze. But I made them a tight fit and so the “front and back” alignment was finnicky. I opted to focus on getting the front nice and flush and didn’t worry too much about the back (which luckily will be against a wall, hidden from view).
Most nerve-wracking
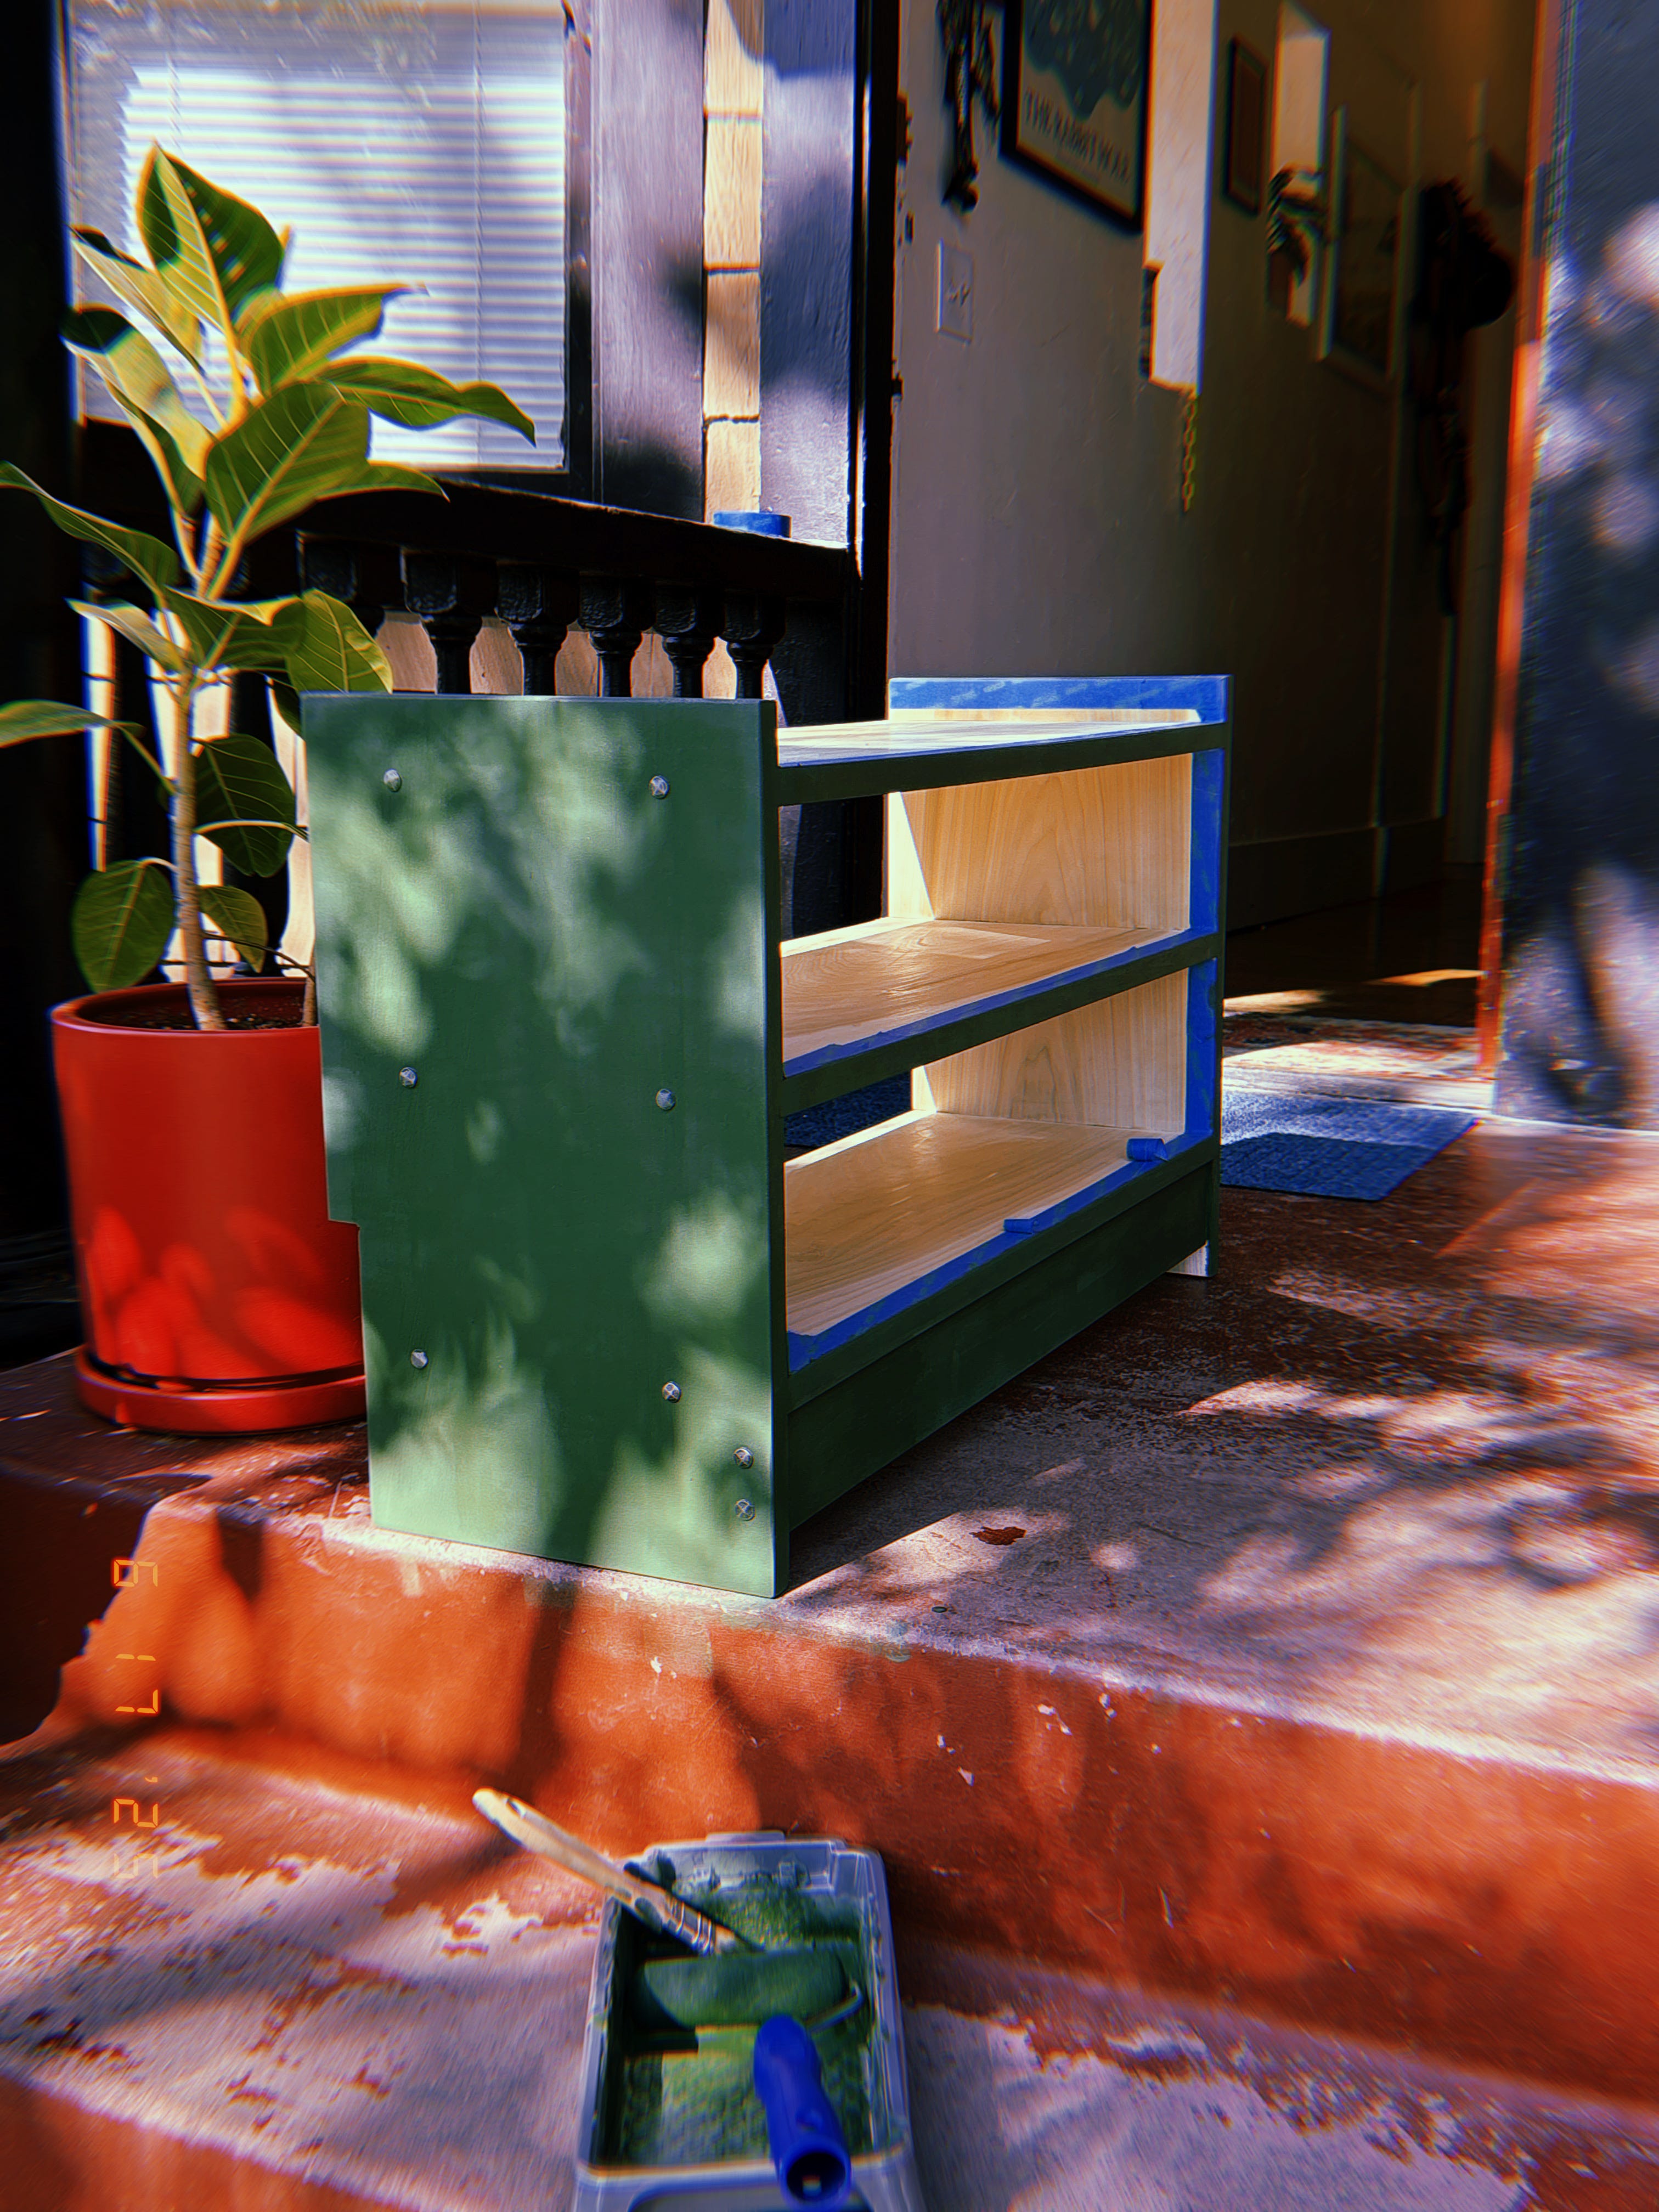
Painting with milk paint! It looked awful for the first two coats. I think I did four total, maybe five. I wanted it to be fully matte and opaque and it is. I really like how it turned out. I put a coat of Odie’s Oil over the top (plus over the raw wood pieces) just for a bit of extra protection. Usually I consider painting wood to be a crime, but I don’t totally love the look of poplar — or at least I have absorbed the aesthetic hate that poplar seems to get, though the more I look at it the more I actually like it. And I also got inspired by this Chris Schwarz bookshelf.
for the archives
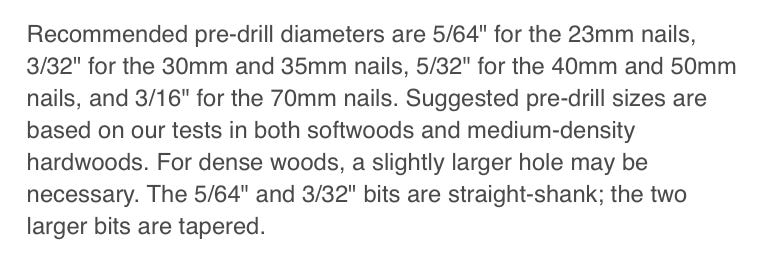
In the spirit of this ‘stack being a place for me to record what I’m learning, I’m going to jot down the proper pilot hole sizes for the cut nails I’ve been using, instead of repeatedly visiting the product page on Lee Valley.
So in terms that are useful to me and my variety pack:
Smallest (23mm): 5/64” [straight bit fine]
Next size up (35mm; they include the most of these, larger center compartment): 3/32” [maybe consider using a tapered bit in a hardwood]
Next size up (40mm): 5/32” [tapered bit better, def in hardwood]
Biggest (50mm): Also 5/32” [tapered bit better, def in hardwood]
tool notes
I got to use one of my favorite tools: a center punch that my brother got me for Christmas. Perfect gift, something I didn’t know existed and even if I did probably wouldn’t have ever bought. It makes marking where to drill a breeze. And the small divot it makes in the wood gets the bit started in exactly the right place. I used this for all of the pilot holes for the cut nails.
I ended up buying two new tools while working on this project, both suited to the unique challenges posed by wide boards: a panel gauge for marking out consistent widths and a 12” combination square for marking the long dados. I think having these in hand will make the next units much more pleasant to build.
the bench cushion sewing project
This is what I actually focused on during past week! I want to make a custom cushion for the bench. However, I don’t have the sewing skills I’d need to make the cushion cover.
So I spent time doing my favorite activity: Research. Specifically, googling hyper-specific terms (“hand stitch box cushion cover”) and then reading a bunch of now-dormant blogs from the early aughts and watching videos on YouTube filmed on iPhones in suburban craft rooms and/or garages.
After a few hours of this, I came to realize that I was far out of my depth. So I texted my sister, an expert sewer, for help. She offered to work on it with me once I procured the materials. So I went to Stone Mountain and Daughters in Berkeley and picked up some 12 oz natural color denim fabric (deadstock from the 90’s…🤭) and some bright orange thread.
My vision is exposed / contrast stitches. I think the bright orange will look cool with the bench’s dark green. My sister has proposed french seams around the edges — can’t say I know exactly what that means yet but I’m excited to find out! I still need to buy the actual foam, which I will procure next week from the charmingly named Famous Foam Factory in Berkeley.
german word for…
…Deciding to DIY something and in the process actually spending significantly more money on materials than one would have spent just buying the thing. That is definitely what has come to pass with this bench cushion project. However, I always tell myself that in the end I will come out on top because next time I need to make a cushion, I’ve already got a lot of what I need.
My desire to make things myself is not an economic calculation and so this doesn’t really matter. But I find it funny and it has happened in enough different contexts that I long for a word or phrase to describe the phenomenon.
resources consulted
Lost Art Press’ ‘On Milk Paint: Like Colored Water’ for instructions on getting good results with milk paint. Useful!
Dado by Hand on the Lost Art Press YouTube channel. Another Megan Fitzpatrick production.
Hand-Built Home for Hand Tools by Andrew Hunter. I used this article a few months ago as a guide for building a toolbox and returned to it to remember how Hunter described cutting out the dados (which I didn’t use on my toolbox, I did mortise and tenons to hold the sides together).