

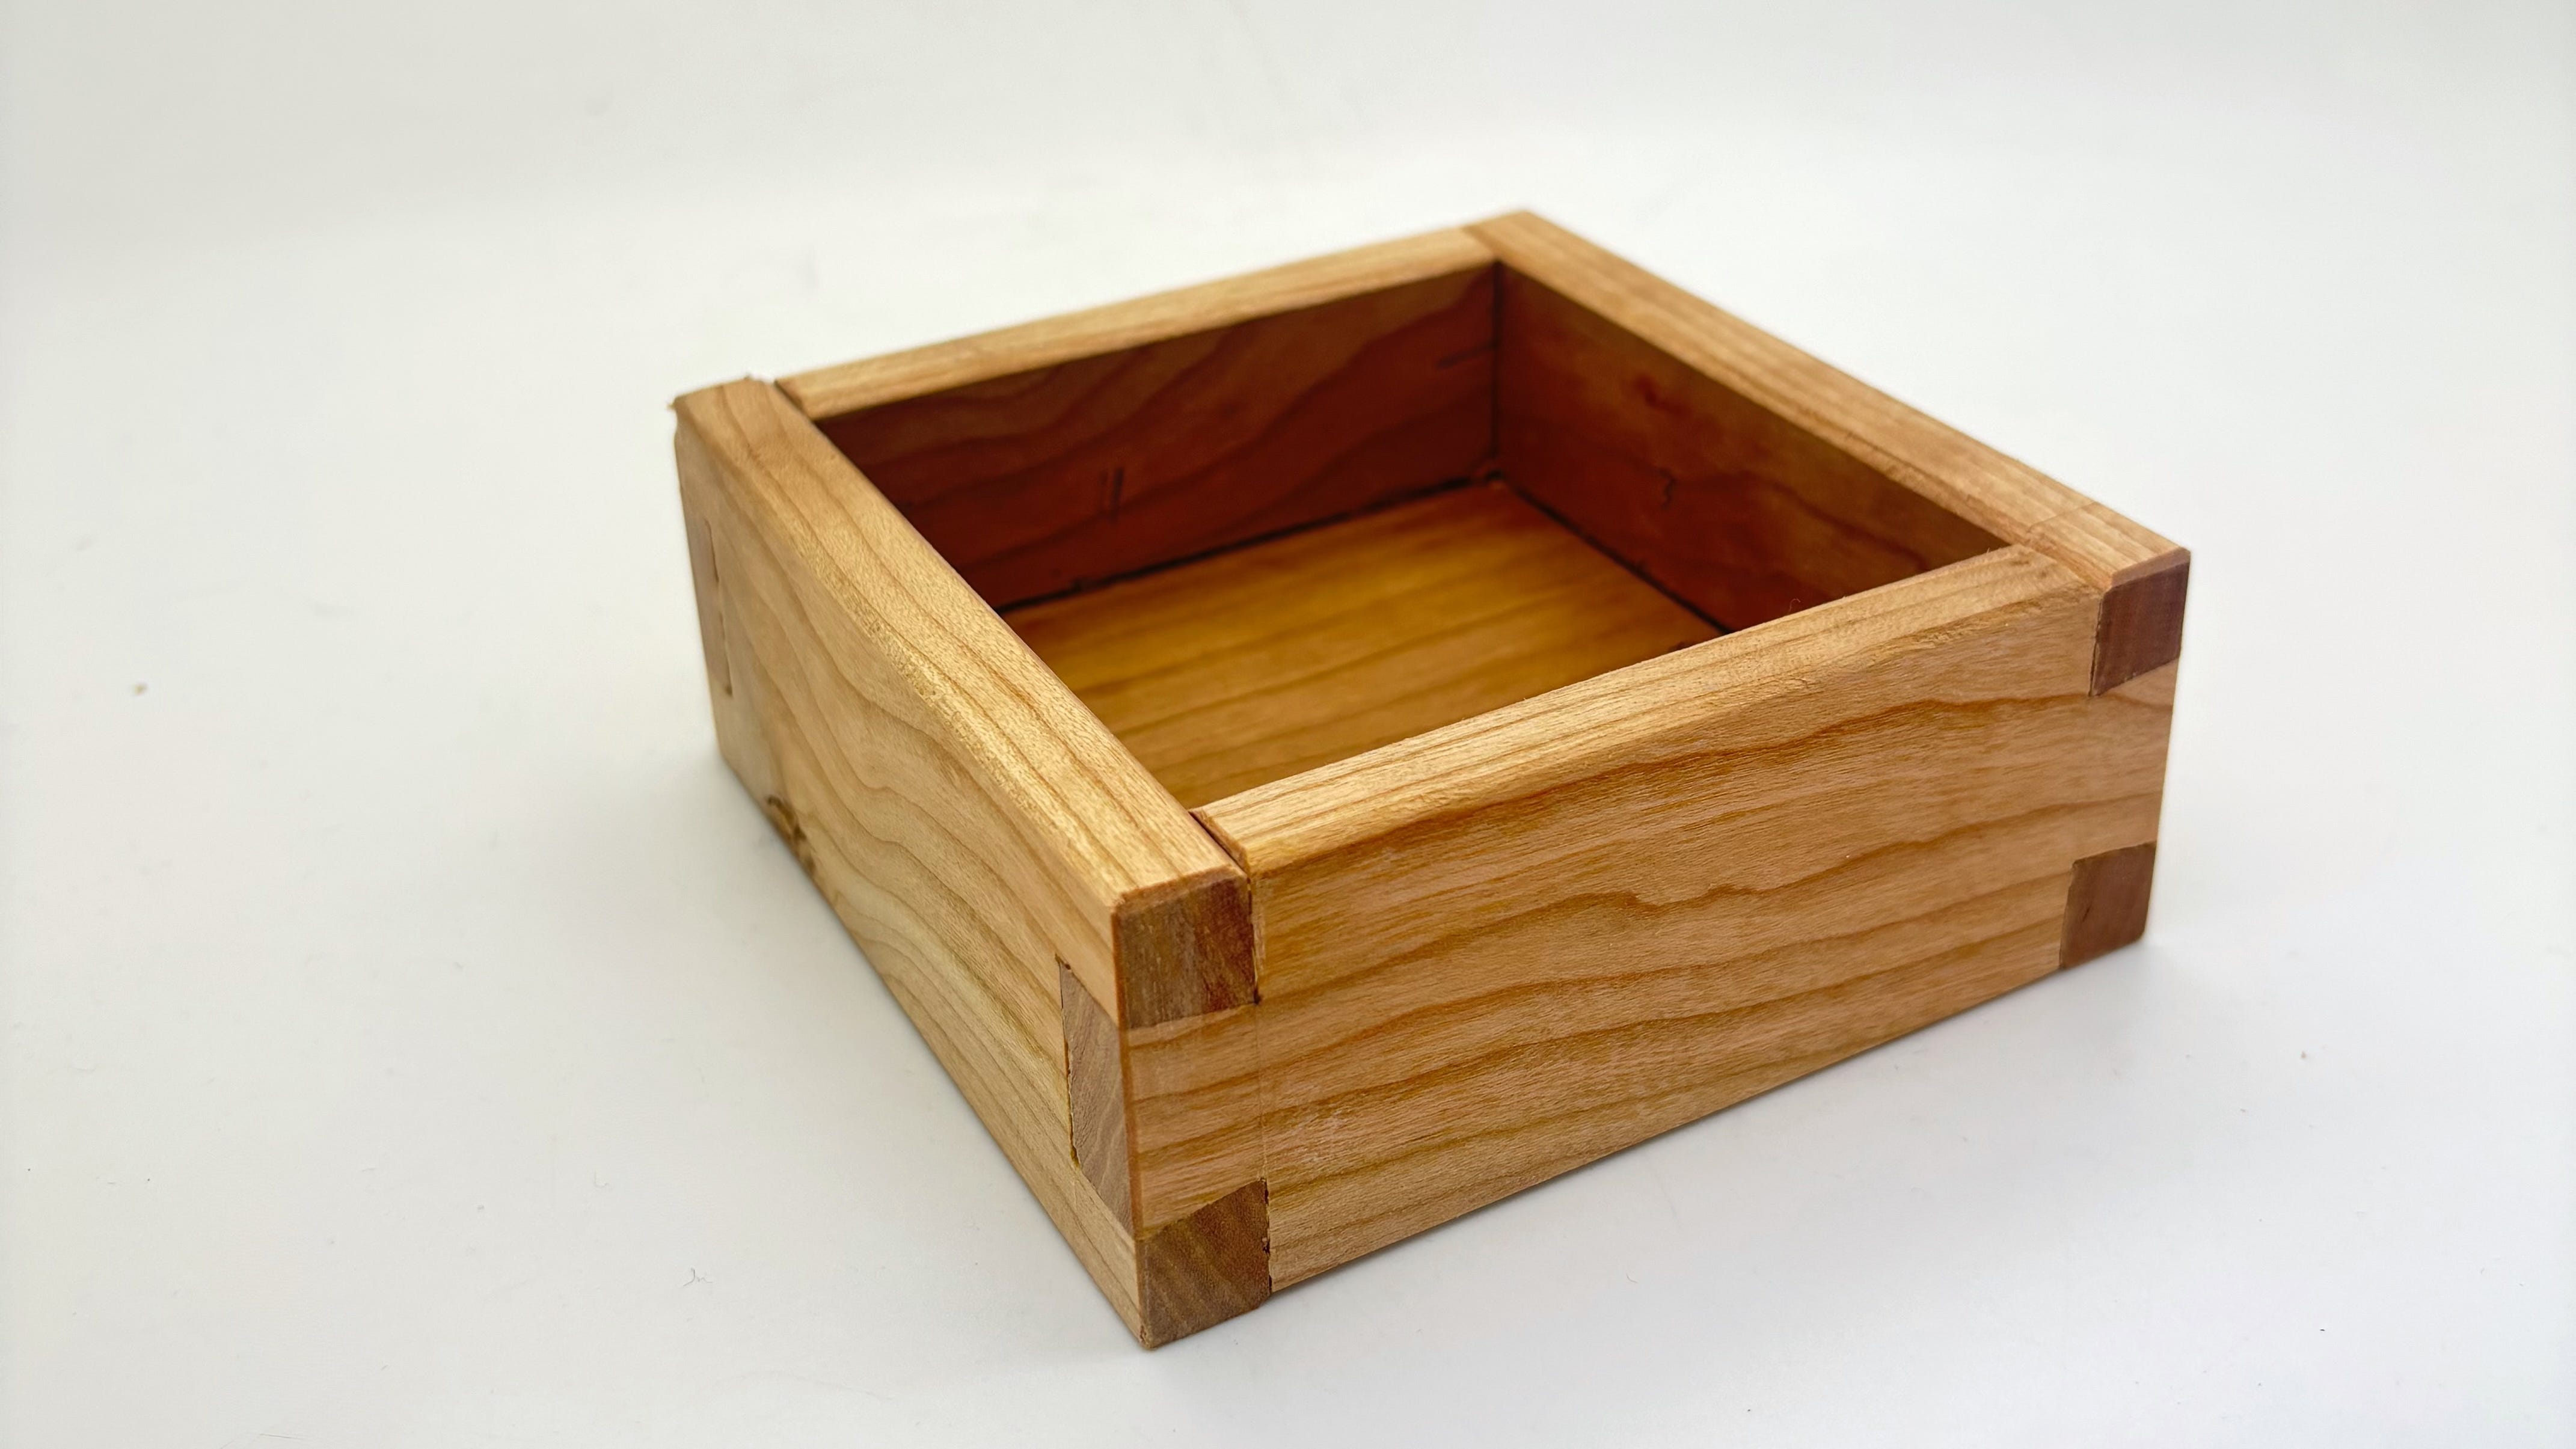
A 4 x 4 x 1.5” cherry box with single dovetails to join the sides and a stopped groove to capture the cherry plywood bottom.
dovetail v1
First project using dovetails. Or perhaps I should say…using dovetail. This box is not particularly strong but luckily it doesn’t need to be, as it will be a repository for foam earplugs in a nightstand drawer.
Anyway, about that single dovetail — I did not feel confident that I would be able to cut more than one in the 1.5ish inches I had available to me. And I think that was the right decision. Even this single one was tough in terms of how teensy-tiny it felt. Also I just wanted to practice the shape and technique before getting mired in the layout details of spacing, pin width, yada yada.
tiny box, tiny tools
Used my Crucible dovetail template for the first time. Perfect, as expected!
On the subject of tools, I did long for smaller ones to match the minuscule scale of this thing. I guess this is the smallest thing I’ve ever made. I couldn’t use my router plane to clean up the bottom of the groove at all, it was just comically large relative to the piece. My 6” combination square sort of flopped around and was tough to register — fine, but just a bit fiddly. And my dozuki (dovetail saw) worked alright but I certainly wouldn’t have minded a smaller one.
more on material
I planned to make the box with this beautiful piece of red cedar I had leftover from another project. But I didn’t properly consider what side of the line I sawed to on the first pin board and so the first dovetail I produced was goofily loose, dealbreaker-loose. This was annoying because I had already invested time in getting the red cedar pieces ready and then had to take that process from the top in this scrap cherry when all I wanted to do was get rocking with the dovetails.
third time is in fact a charm
This was my third time making a box with the bottom held in stopped grooves. One truly inconvenient feature of my brain, for the purposes of woodworking, is that I have subpar spatial reasoning abilities. I cannot imagine things in 3d to save my life. I think this is a symptom of my self-diagnosed1 dyscalculia.
Anyway, the layout for this has previously eluded me and required a bit of fumbling trial and error. But this time it just clicked and felt intuitive. Learning is crazy.
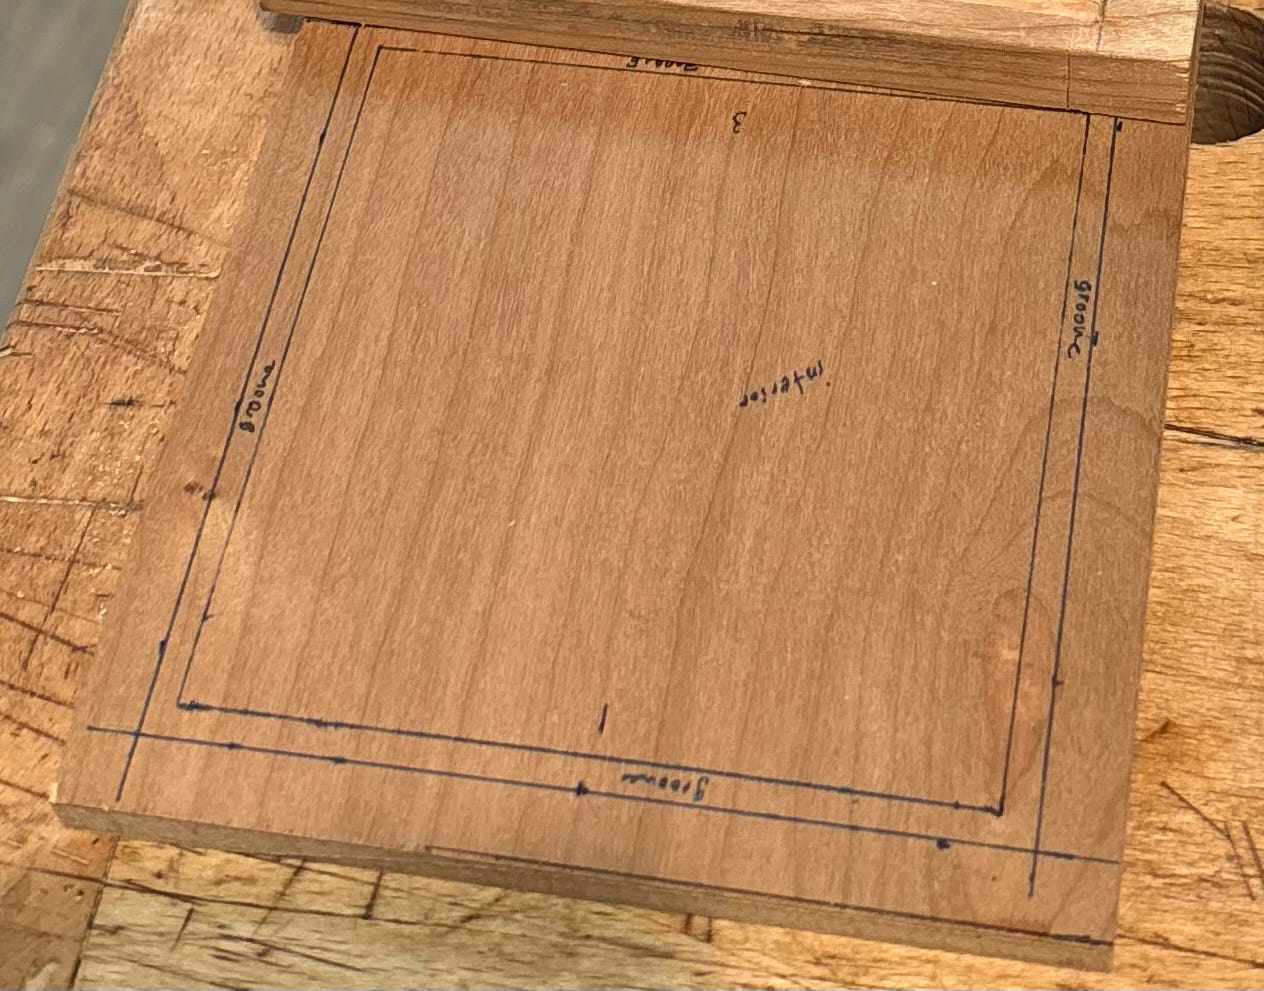
Here’s what I did to mark out the piece of cherry plywood I used for the bottom:
Put the box on top of the piece
Traced the inside of the box
Measured 1/8” (sorta arbitrary depth, just seemed reasonable) off the edges of the inside — this is the bit that will sit inside the groove
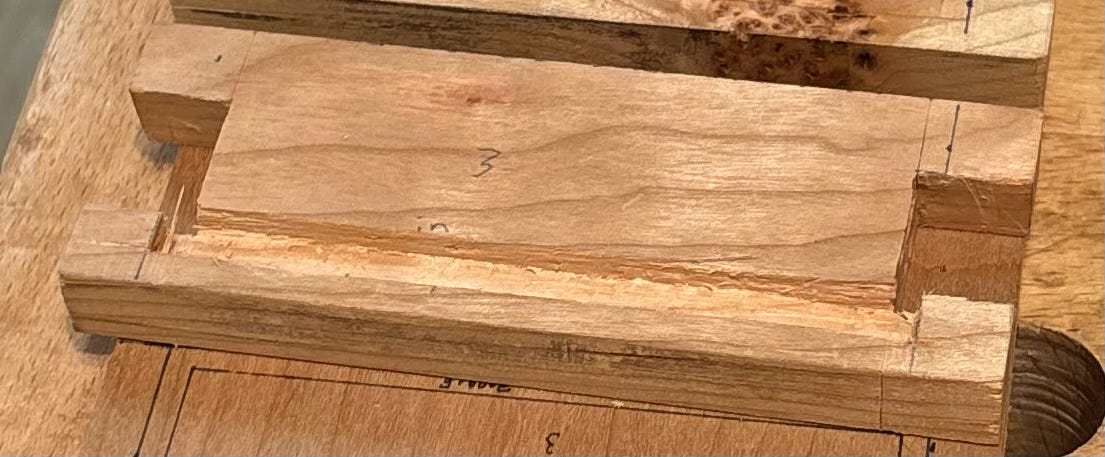
And to mark out the sides:
Decide how far up the board to put the bottom. I ended up with sort of wack proportions on this, I think, but I wanted to create enough distance from the bottom to have the bottom edge not split/fall off and it’s so tiny. So I set that distance on my marking gauge and marked the bottom of each piece.
Then I laid the plywood bottom on my bottom groove edge, marked its width with a pen, and set my marking gauge to that. Then I marked the “top” of the groove on all the sides. The bottom is 1/4” which is probably too thick for a box this small. But this was the cherry plywood I had and also I have a 1/4” chisel.
Okay, here comes the part that has always confused me but clicked this time: figuring out where to stop the stopped groove. In the past, I’ve done it at the baseline of the corner joint (box joints, previously), thinking “okay this makes the groove present around the whole interior of the box.” But then of course the corner of the bottom has nowhere to go and so I’d sort of just slowly extend the groove ‘till it worked. Anyway, this time it was immediately clear that I should simply measure 1/8” past the baseline, to match groove depth/amount that the corners of the bottom protrude past the interior dimensions of the box.
having too much fun
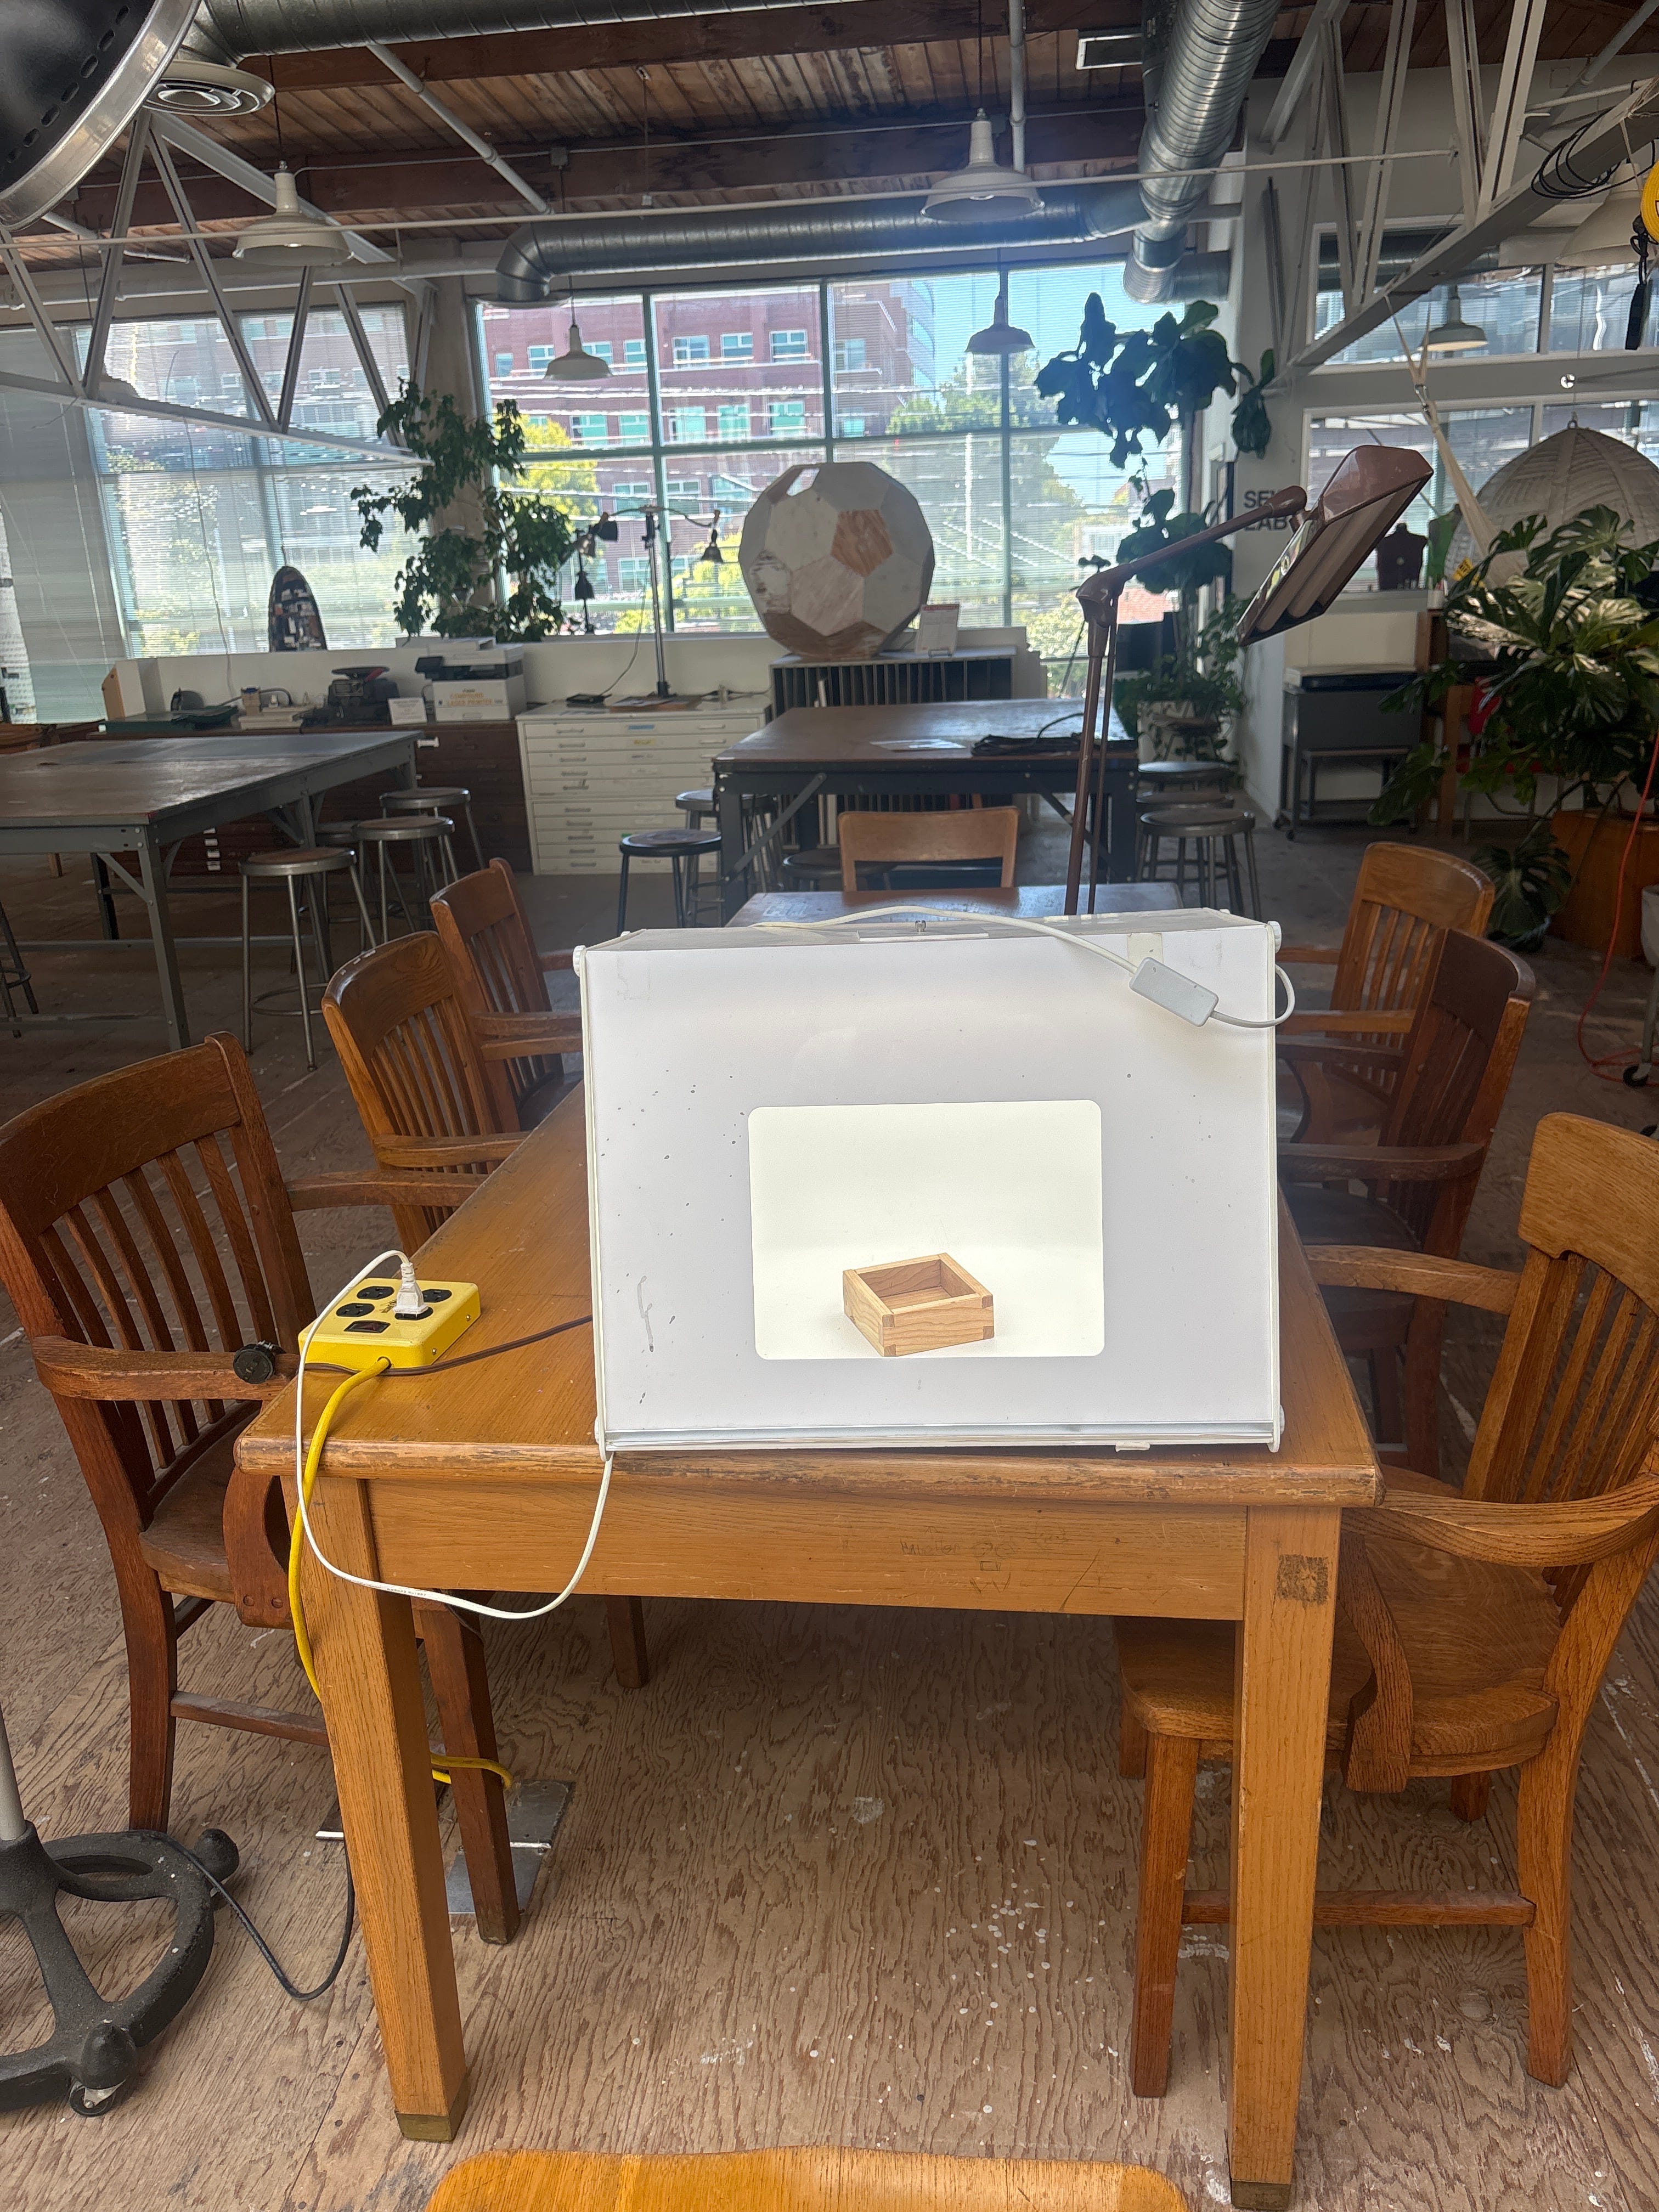
No one has ever accused me of being an expert photographer but I had a little fun with this little communal light box at my studio space. And then I had ChatGPT coach me through editing the shot in the Photos app, I honestly don’t know if I like the results but nonetheless...progress not perfection…
resources consulted
Megan Fitzpatrick’s “Dovetail Layout with Dividers, Directors Cut” Love her! This is really about using dividers for laying out but it was a useful refresher on what exactly a dovetail is, anyway.
Wood and Shop’s “How to Cut a DOVETAIL JOINT with Hand Tools (Quick Version)” I find this guy’s voice very soothing. Useful quick overview of the whole process.
Aussie Woodshed’s “Chisel Joinery: How to Make a Stopped Groove” I used this video to learn how to do a stopped groove the first time I made one, a year or so ago. I played this in the background as I worked this time as a reminder.
Once I sat next to an accomplished neurologist at a dinner party who asked me a few questions and then told me she agrees that I probably have dyscalculia, so it’s what we’re calling “self-diagnosed plus.”